Skip to content
Introduction
Are you prepared for the future of Google’s web analytics? With the impending sunset date for Universal Analytics (UA) fast approaching, it’s now more important than ever to make the transition to a working Google Analytics 4 (GA4) implementation.
But you may be wondering, how exactly can I make this change without sacrificing any important data points?
Fear not! This article will work to guide you through a seamless transition to GA4 with just 3 simple, yet effective steps. Not only will you be up and running quickly, but you’ll also have the peace of mind knowing your tracking is accurate, complete, and compliant with privacy laws.
Step 1: Your configuration tag
Working as the foundation of your GA4 implementation, the configuration tag serves as the equivalent of the basic pageview tag in UA. The implementation of this tag is relatively dynamic, allowing you to implement it either through the Google tag (gtag. js) or a full tag manager system such as Google Tag Manager (GTM). That said, we would recommend the use of GTM for its added flexibility.
Once placed, this script will trigger a page view event in GA4 every time a user loads a page on your site, providing crucial information for your content reports and marketing strategies. You’ll also be able to track key form submissions and conversion funnel progress with ease.
Complementary to GA4, Google has introduced a new feature called enhanced measurement. Enabled from the GA4 admin setting, this feature automatically tracks various metrics such as scrolls, outbound links, videos, and more. While this is a new convenient solution to more in-depth user analysis, it’s worth noting that the enhanced measurement tool is a one-size-fits-all approach and cannot be customised freely from the admin window.
For more tailored analysis we move on to step 2.
Step 2: Finding value in custom tracking capabilities
With your GA4 implementation up and running, it’s time to take your tracking to the next level. How do you track specific interactions on your site such as clicks on navigation elements in an A/B test or product information on add-to-cart and checkout events?
The key to unlocking these insights lays within your site’s data layer.
If you already had tracking in place for UA, GA4 can interpret the same data layer format, for example if a user clicks the “Add to cart” button, an event with all relevant product information should fire. However, this is an opportunity for you to review your data layer and make sure you take full advantage of new events and ensure product naming conventions are up to date and detailed to ensure your analytics are working at optimal capacity.
Once your site has its data layer ready to go, you’ll need to configure your events and parameters in GTM to ensure all the information is captured in the right place. A measurement plan with a clear naming convention for your events will be a critical success factor for ensuring everything is accounted for, while also working to serves as a reference document once your implementation is live.
Once all tags are published and the data layer changes go live, all your data will begin tracking in GA4.
As mentioned briefly before, this is now the perfect time to review your previous implementation, whether in UA or another analytics platform, and search for new opportunities to improve upon. Whether it’s simply adding new tracking, removing defunct tags to improve performance, or changing naming conventions for clarity, the setup of a new platform is the ideal opportunity to carry out some spring cleaning and upgrade your data collection.
Step 3: Bringing your GA4 to life with interface configuration
Your journey is almost complete. Data is pouring in, now it’s time to take your GA4 implementation to the next level with a fully configured interface. Don’t let any of the amazing refinements and parameters go to waste – it’s time to make them work for you!
From defining your customer definitions and user properties, to building conversion funnels from your events, or even filtering internal IP addresses and bots; the interface configuration is where you can really unleash the full power of GA4. Here you even tackle the less common issues like multi-region reporting, cross domain tracking, and excluding referral information form 3rd party processors.
Google has put a big emphasis on custom reporting in GA4, so it’s important that you setup your important reports in the explore feature or using the Looker Studio (previously your data studio), to ensure that the data is easily accessible to those who may be unfamiliar with the new interface.
It’s worth making a point here that this step is no one-size-fits-all process. In fact, of all the steps, interface configuration is where there are limitless possibilities for customisation, you may could share the exact same custom tracking as another organisation (however this is highly unlikely) and end up with interfaces sharing absolutely no resemblance.
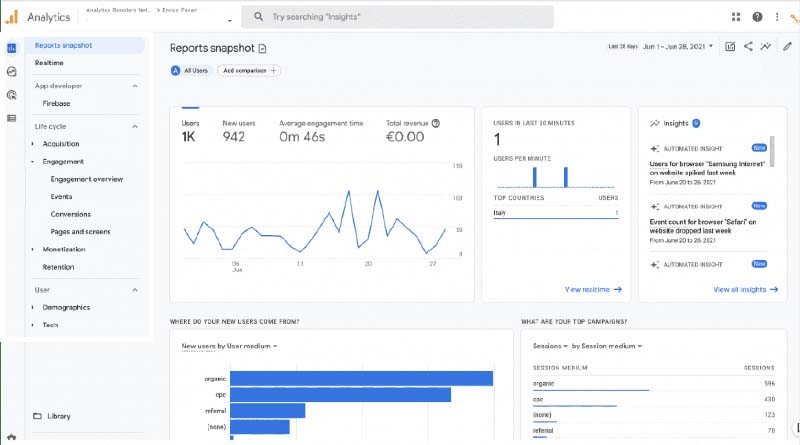
Now, with all this in place, your GA4 will be fully functional and ready to provide your organisation with valuable insights.
If you’re looking to take your GA4 even further with advanced analysis, we would love to talk to you about setting up features such as consent mode or even training your team for a smoother transition to the new systems.
Our team of experts is here to help you every step of the way, from admin settings to dashboards and beyond. So, please, don’t hesitate to reach out!